


How to safely store drinking water in motorhomes and boats using a chlorine-free step-by-step method
The safest way to get great-tasting, odor-free drinking water in motorhomes and boats is to combine clean tank hygiene with a chlorine-free drinking water treatment. Clean the tank, rinse the hoses, top up with fresh water, and dose according to the label to maintain water quality and great taste.
Quick Guide
- Clean and rinse the water tank before the season and after prolonged periods of storage.
- Use chlorine-free drinking water purification
- Always top up from an approved tap and let the water run for a moment.
- Keep hoses, connections, and seals clean and store them in a dry, dark place.
- Change the water regularly, especially in hot weather.
Step-by-Step:
- Drain and inspect the tank. Open all taps and drain completely. Check the tank cap, gaskets, seals, and level sensors.
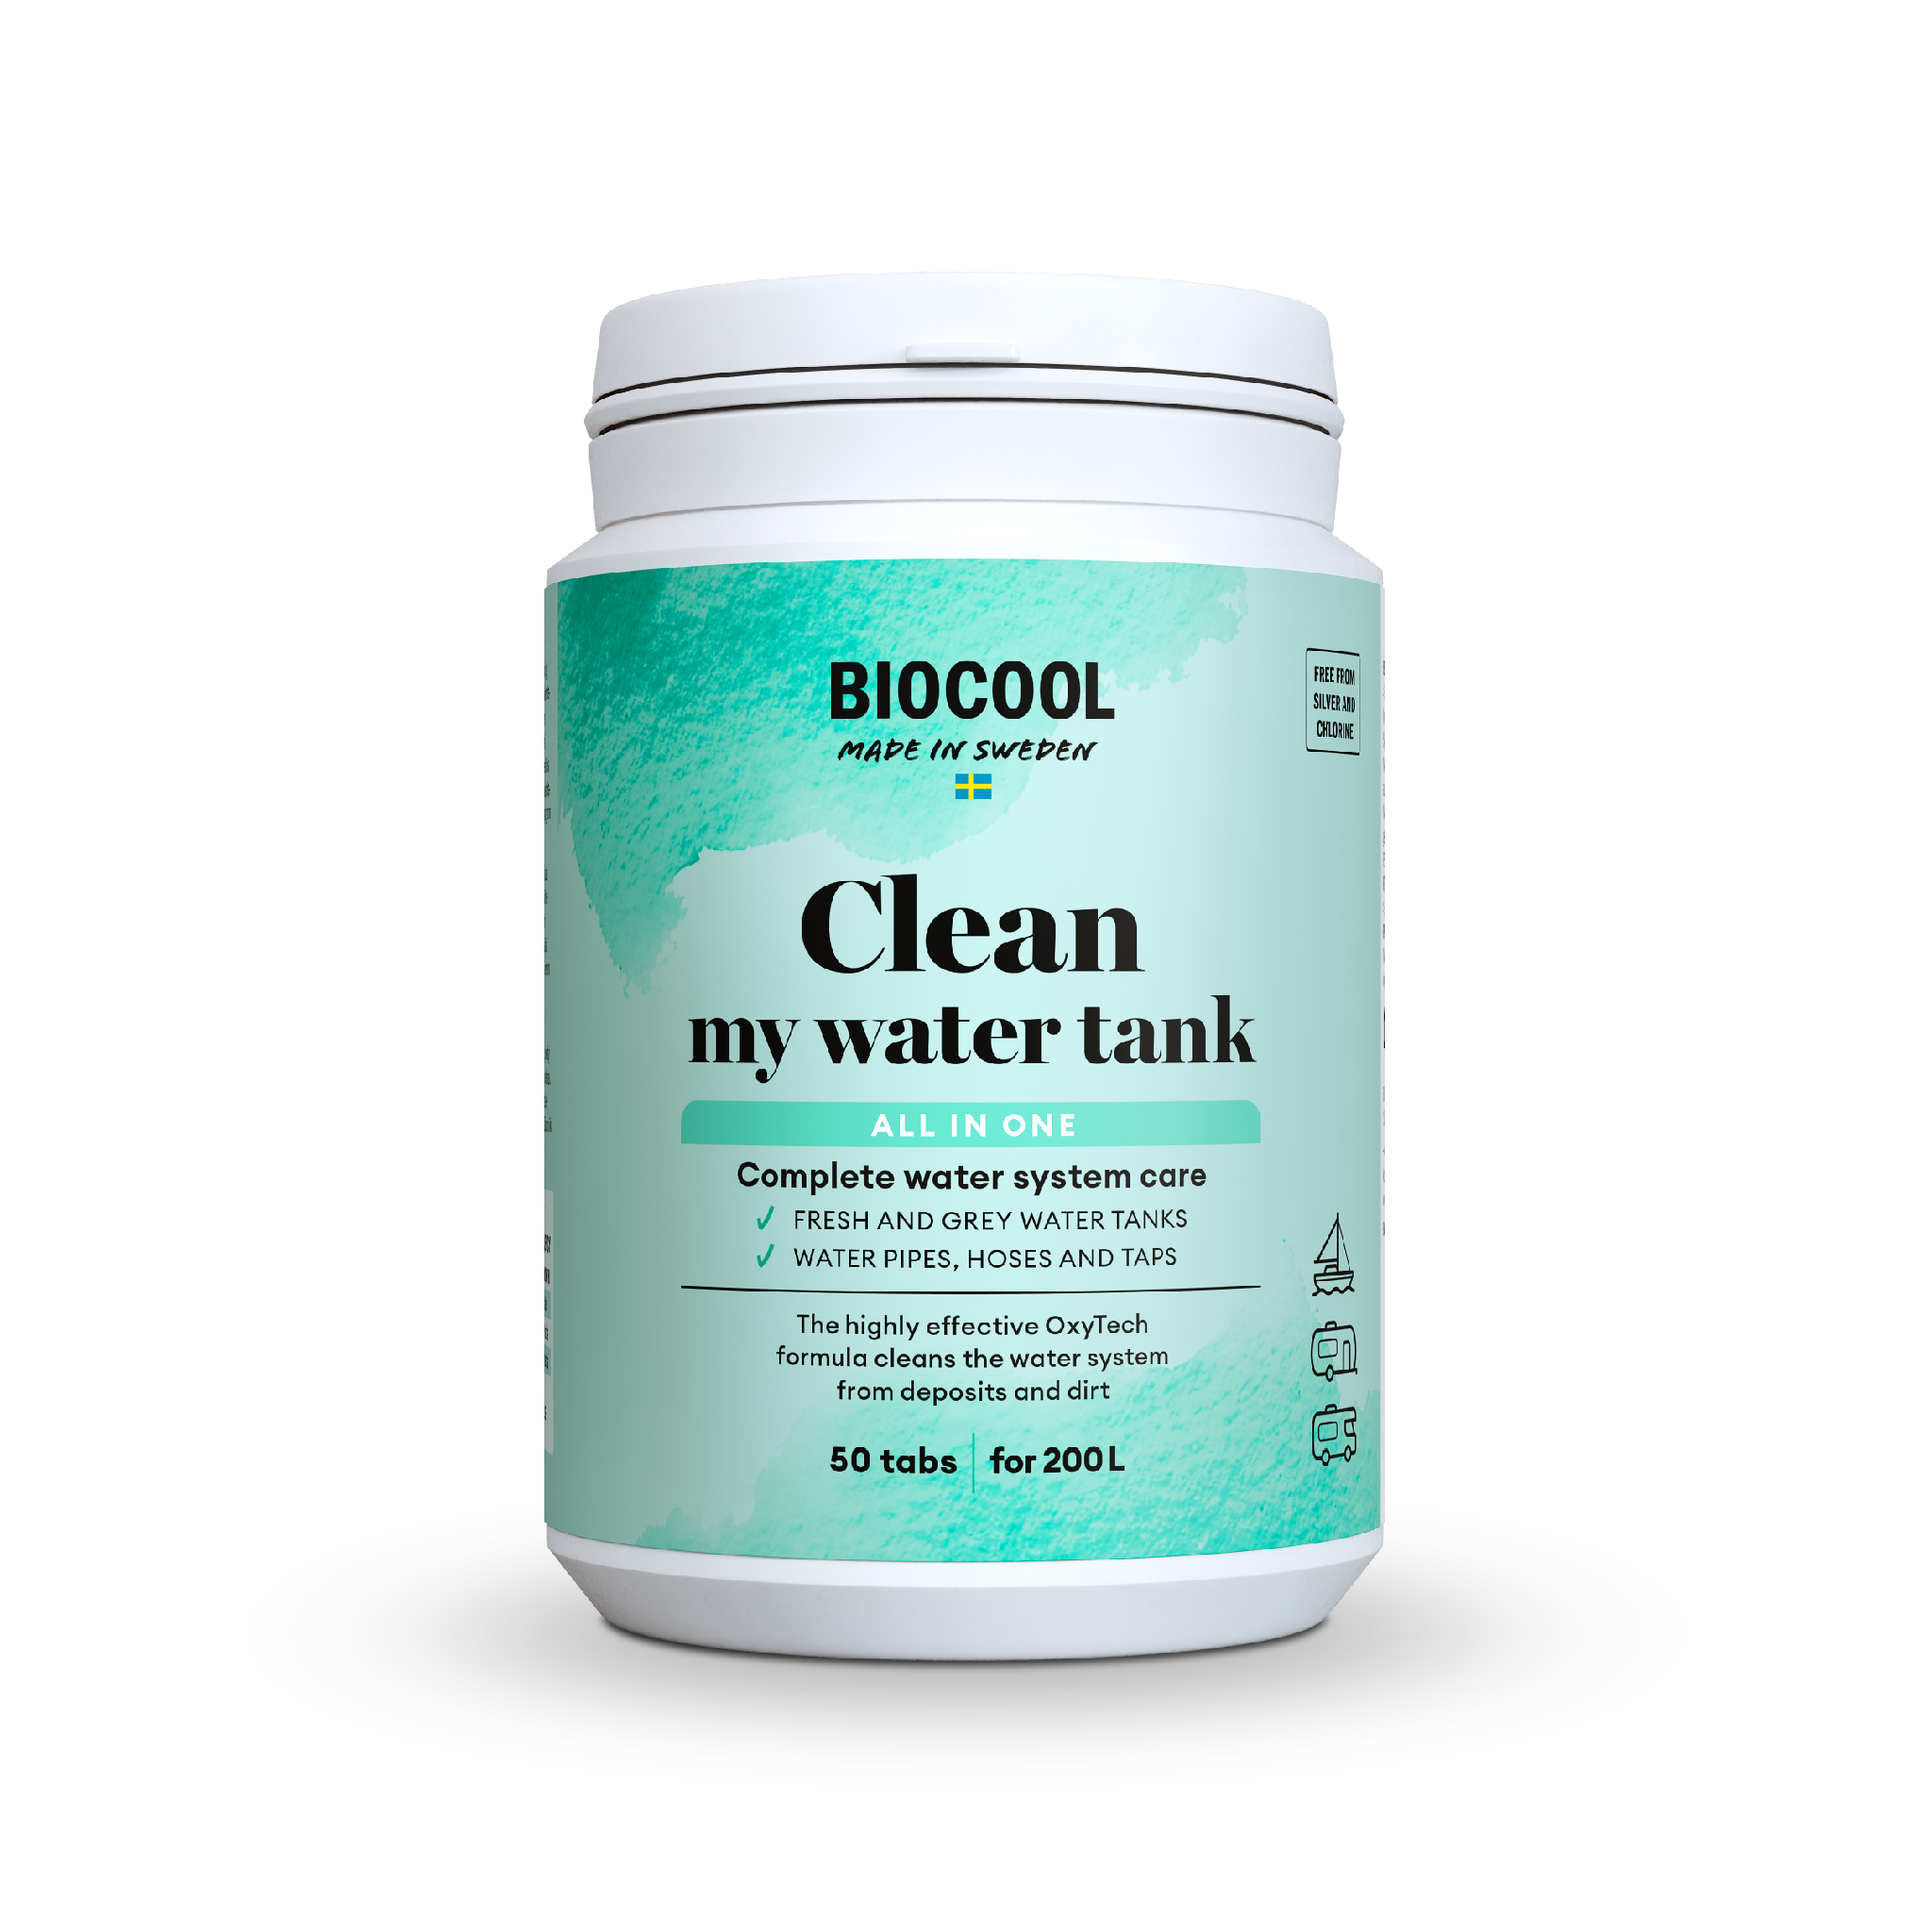
- Clean the tank, hoses, and taps. Use a chlorine-free tank cleaner that is compatible with plastic, rubber, and stainless steel.
- Flush the fill hose. Let the water run for 30-60 seconds through the tap before filling up.
- Top up with fresh drinking water. Use food-safe hoses, preferably labeled for drinking water. Avoid garden hoses, which can impart off-flavors.
- Dose the chlorine-free water treatment Add according to the product's instructions based on the tank volume. Run the pump so the mixture reaches all lines.
- Wait for the recommended contact time. Keep the taps closed during this time.
- Test the taste and odor. Open the cold water tap briefly, taste and smell the water. If needed, repeat steps five and six according to the label.
- Seasonal Routines Add a maintenance dose each time you top up significantly, and change the water if it has been sitting in warm conditions for longer than 1-2 weeks.
Tips:
- Write a note inside the tank cap: tank volume, dose per liter, and date of the last full cleaning.
- Do not mix different cleaning products.
- Always follow the safety and dosing instructions on the label.
Links